Getting Started
This guide helps you quickly get started with the Chimoney API using the Sandbox environment. You’ll learn how to create a developer account, generate your API key, and make your first API call.
1. Sign Up for a Chimoney Sandbox Account
To test the Chimoney API safely without spending real money, you’ll use the sandbox environment.
- Visit sandbox.chimoney.io in your browser.
- Scroll down and click Sign Up.
- Enter your email, password, and confirm your password.
- Complete the verification step (via email or phone number).
Once verified, you’ll be redirected to your dashboard.
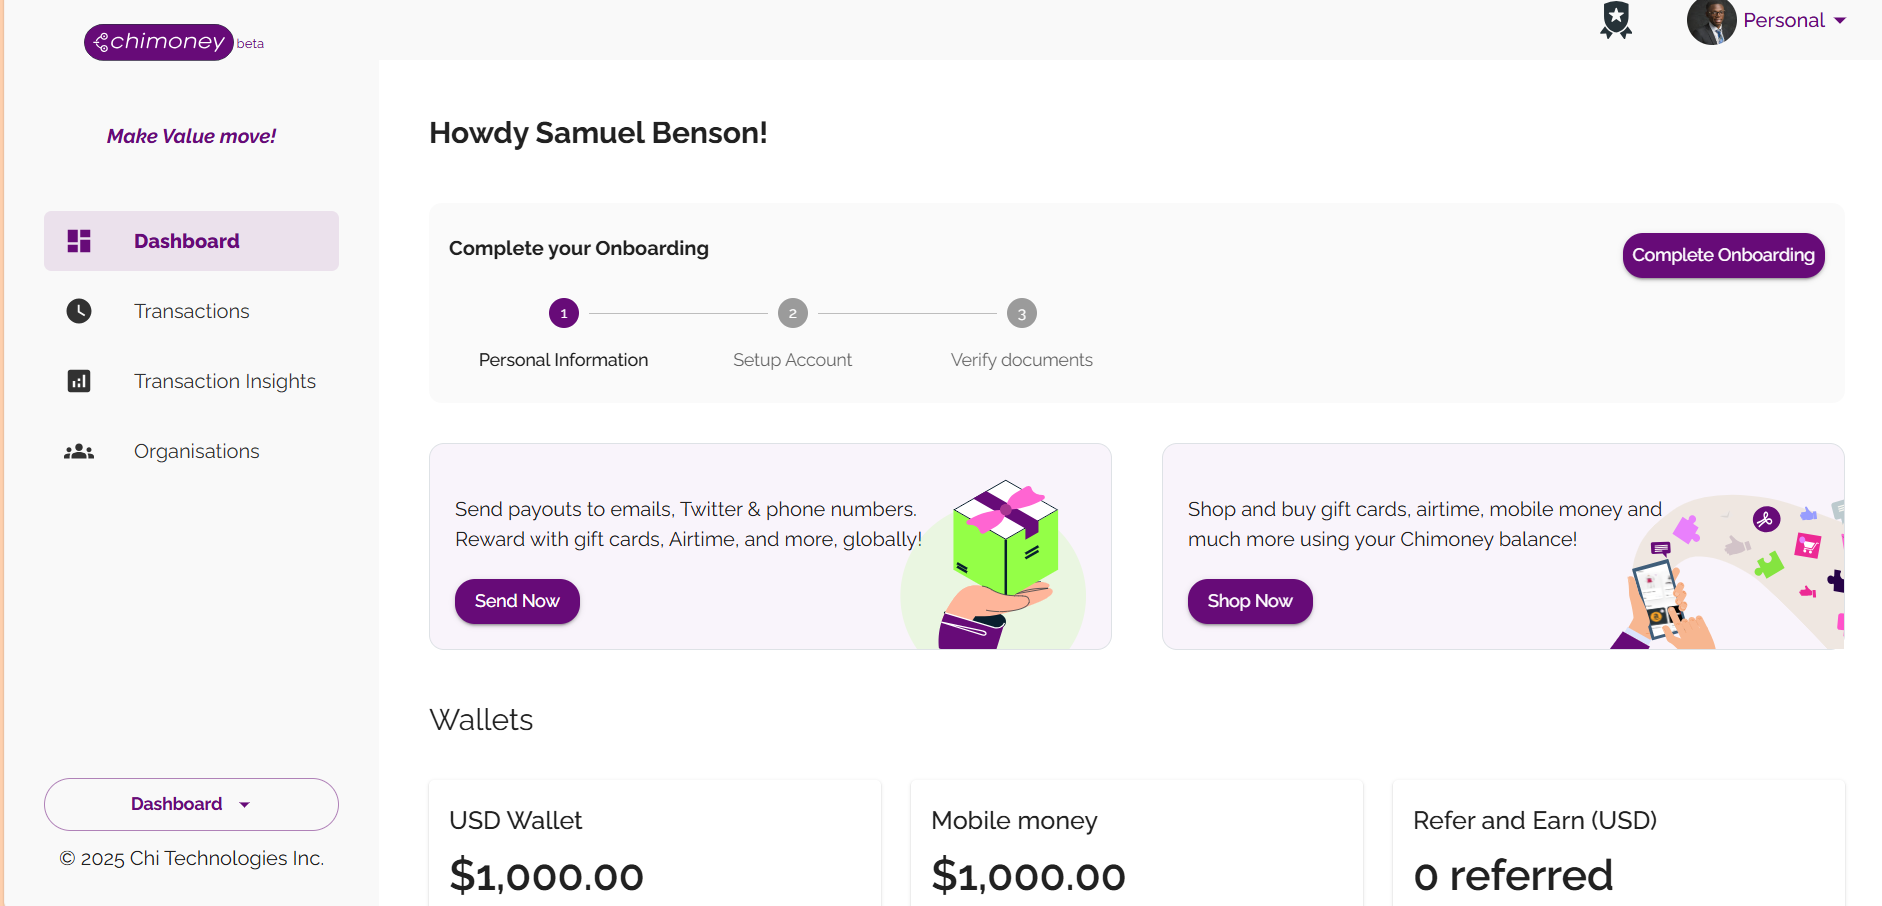
2. Explore Your Sandbox Wallets
On your dashboard, you’ll notice two test wallets are preloaded:
- USD Wallet
- Mobile Money Wallet
Each comes pre-funded with $1,000 test credits. These credits are not real money but can be used for testing transactions such as payouts and transfers.
3. Generate Your API Key
Your API key is required to authenticate requests. To generate one:
- On the sidebar, click Developers & API.
- Click Add a new app.
- Give the app a name (e.g., My Test App).
- A unique API key will be generated for that app.
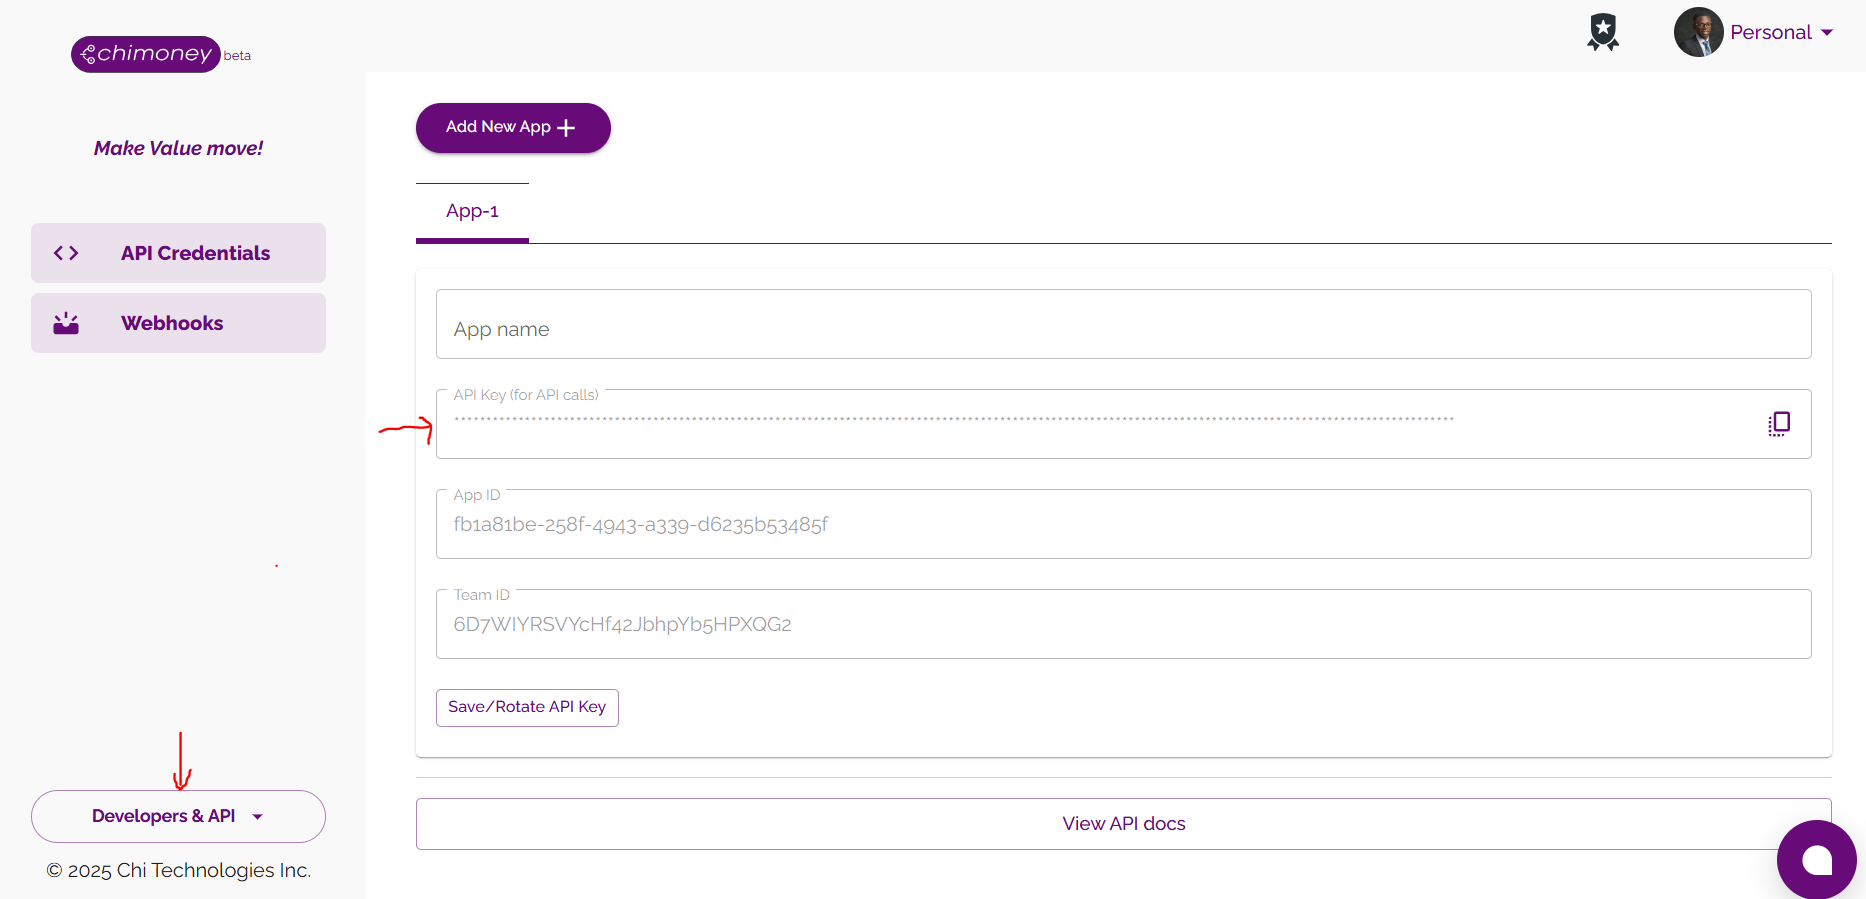
⚠️ Important: Keep your API key private. Anyone with it can act on behalf of your account.
4. API Base URLs
Chimoney provides two environments:
| Environment | Base URL |
|---|---|
| Sandbox (Testing) | https://api-sandbox.chimoney.io/v0 |
| Production (Live) | https://api.chimoney.io/v0 |
When you’re just testing, always use the sandbox URL.
5. Authentication Process
The Chimoney API uses an API Key for authentication.
Include it in the X-API-KEY header of every request.
X-API-KEY: {YOUR_API_KEY}
Content-Type: application/json
6. Sample cURL Request
Here’s how to test the /info endpoint to check API status:
curl --location 'https://api-sandbox.chimoney.io/v0/info' \
--header 'Content-Type: application/json' \
--header 'X-API-KEY: {YOUR_API_KEY}'
Example Response
{
  "data": {
    "chimoney": {
      "name": "Chimoney",
      "version": "1.0.0"
    }
  },
  "error": null,
  "status": "success"
}
If you see this response, your API key works and you’re connected to the sandbox.
7. Example Transaction: Airtime Payout
Let’s perform a test airtime payout:
curl --location 'https://api-sandbox.chimoney.io/v0.2/airtime/transfer' \
--header 'Content-Type: application/json' \
--header 'X-API-KEY: {YOUR_API_KEY}' \
--data '{
  "airtimes": [
    {
      "countryToSend": "NG",
      "customer": "08012345678",
      "valueInUSD": 10
    }
  ]
}'
Example Response
{
  "status": "success",
  "data": {
    "id": "txn_12345",
    "type": "airtime",
    "amount": 10,
    "currency": "USD",
    "recipient": "08012345678"
  }
}
This confirms your sandbox API key and test wallet work.
8. Next Steps
- Use the Sandbox environment to explore all endpoints safely.
- Once your integration is stable, switch your
baseURLfrom sandbox to production. - Always generate separate apps/keys for different projects.
You’re now ready to start building with Chimoney!